How to setup Window 10 backup with previous version file/folder restore…

Windows 10’s File History is an easy way to get started with backing up your personal files since it comes built-in to your system.
File History takes snapshots of your files as you go and stores them on an external hard drive either connected over USB or your home network. Over time, File History builds up a library of past versions of your documents that you can recover if need be. Say, for example, you really liked a paragraph from the first draft of an essay, but you deleted it long ago and are now battling regret. You can dip into File History, retrieve the right version of your document, and copy the paragraph.
Windows 10’s File History is an essential part of any PC backup strategy, but it’s only one part.
Ideally, you’d have your files in three places: the working copy on your internal hard drive, a local backup that you can access straight away, and a remote backup that keeps your files safe offsite. That way, if anything ever happens to your house such as a fire, flood, or tornado, the third copy is still safely tucked away in the remote location.
The easiest way to take care of the remote backup is to use an online backup service.
To get started with File History in the latest version of Windows 10, open the Settings app and go to
Update & Security > Backup.
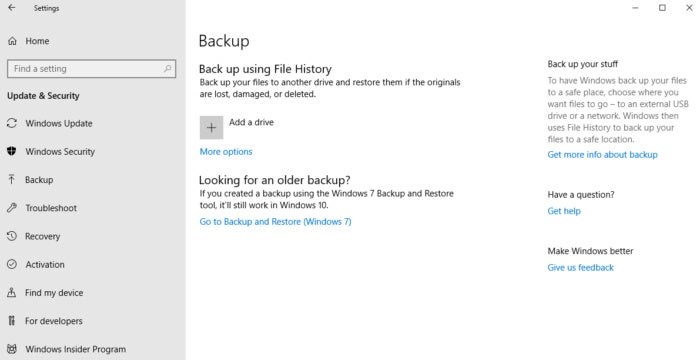
File History before it’s activated in Windows 10.
Once you’re there, hook up your external hard drive to Windows and then in the Settings app click the “+” next to Add a drive. You’ll see a prompt to choose an external drive, choose the one you want, and that’s it. File History is now archiving your data. An on/off slider will now appear under a new heading called “Automatically back up my files.”
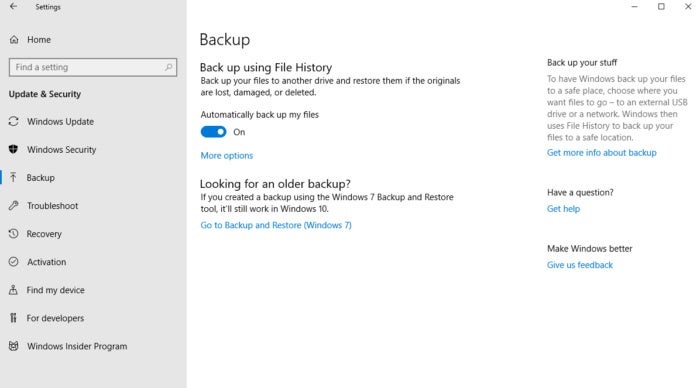
Click on More options to change File History’s defaults.
By default, Windows 10’s File History will back up all the folders in your User folder, back up your files every hour (as long as the backup drive is available), and keep past copies of your files forever. To change any of those settings click on More options under the on/off slider.
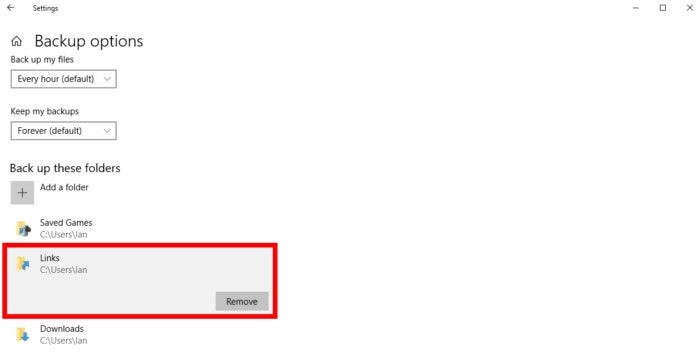
File History via the Settings app makes it easy to remove folders from your backup list.
The next screen you’re taken to is called Backup options. Right at the top is an option to start a manual backup, and below that are drop-down menus to adjust how often you’d like to run your backup with choices ranging from every 10 minutes to once a day. If your backup drive is low on space, you can avoid having File History bug you by clicking on the drop-down menu under Keep my backups and select Until space is needed.
To add a folder to your backup, click the “+” under Back up these folders. To remove a folder, scroll down to find it, click on it to highlight, and then click Remove.
Towards the bottom of this screen (not pictured) you can also create a list of folders to specifically exclude, or stop backing up to the currently selected drive and choose another one—you can only have one designated backup drive at a time.
Once File History is enabled, there’s a handy trick to access older versions of a file: Right-click on a file in File Explorer, and then select Restore previous versions. This is the same as right-clicking the file and going to the Properties > Previous Versions window.
You will see all the saved versions of that file. You can also do the same thing for folders Right-click on the folder select previous versions to see all the files in that folder that have been saved and changed over time.
Hope this helps,
That Computer Guy In Stanwood…